


 En
En 9 min read
A while ago, my mom suddenly asked me, “Can you make one of those websites where you sell stuff online?”
I replied, “Do you mean like Taobao or Pinduoduo? Or the kind where you don’t keep inventory?”
She said, “The kind without inventory—I don’t have space to store stuff.”
Alright, that made things clear: she wanted to do dropshipping. So, I slapped my thigh and decided to help her set up her own independent store—not a little shop on Pinduoduo or Amazon, but a website she could truly call her own.
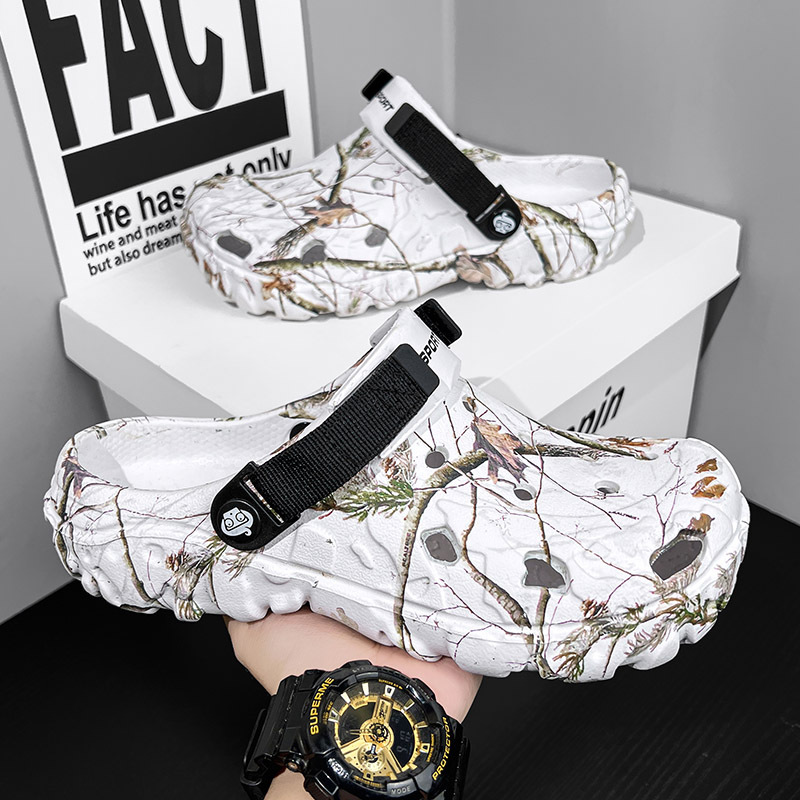
Step 1: Define the Product Category
Before diving into product selection, I did a simple yet practical market research with her to make sure we weren’t blindly listing products but making decisions based on data and trends. We mainly referred to the following platforms and dimensions:
Google Trends
This was the first tool we checked to confirm the popularity trends of a product category globally or within our target market. We didn’t just look at recent trend curves but also pulled data from the past five years to see whether the category was a seasonal spike or a stable, long-term growth niche. For example, some holiday-related products peak once a year but miss the timing and fail completely; while categories like fitness or pet supplies have steady trends and are better for long-term operation.
TikTok & Instagram

These two platforms helped us capture real-time consumer interests and hot topics. On TikTok, we focused on viral videos’ likes, genuine feedback in the comments, and influencer recommendations on how to use the product. Instagram was more lifestyle-oriented; we searched keywords to see what people were sharing and recommending, and also got a glimpse of actual user experiences. This step helped us figure out which products naturally encourage sharing and have viral potential.
AliExpress
This platform mainly served as our “supply side” check, to see if we could source products at reasonable prices from reliable channels. After narrowing down a few interesting categories, we compared prices, sales volume, and reviews on AliExpress and 1688, while also checking whether the shipping was fast and if ready-made marketing materials (like images and videos) were available.
Shopify & Niche Scraper
We used these two tools to “study the competition” and find out what product categories have been proven to sell. Niche Scraper lets us see what best-selling stores are selling, what videos they use, pricing, and sales volume, allowing us to quickly filter out products worth pursuing. Shopify showed us which themes are popular, how product pages are designed, and how selling points are written—we don’t copy directly but break down their strategies in detail.
Step 2: Choose a Platform & Build the Website
Once we roughly decided on the products, we moved on to step two—choosing a platform and building our own independent store. For people with no coding background, setting up a website that actually sells can sound like a fairy tale, but nowadays there are many “foolproof” tools that make it totally doable. My advice is, if you’re going to do it, do it professionally—first impressions and trustworthiness are super important.
The platform I helped her pick was Shopify.
Shopify is one of the most mature tools worldwide for building independent stores. It has a clear backend logic, tons of templates, a robust ecosystem, and best of all, you don’t need to write a single line of code to create a professional-looking online store. It’s perfect for someone like my mom who has zero programming experience—just drag, drop, and click a few buttons, and boom, a full website is live. Honestly, it’s like the iPhone of online store builders.
We registered the domain on Namecheap. We spent quite some time picking the name, aiming for something short, brandable, memorable, and related to our product category. The domain we finally chose still had the .com available, and it only cost about a dozen bucks. Whether it can grow into a strong brand in the future, this step is the foundation.
Next, we picked a paid theme from the Shopify theme store, spending $180. Some might think that’s expensive, but I was 100% sure it was worth it: free themes can work but lack polish and it’s really hard to get the clean, premium look we wanted. Once the theme was installed, the whole site instantly looked professional, especially on mobile—layout, buttons, colors, and loading speed were all excellent, giving it a big upgrade.
In just a few days, we finished the basic setup: uploading product images, editing product pages (highlighting buyer pain points), writing the About Us page (authentic and warm), and adding policy pages like returns, shipping info, and FAQ.
Step 3: Nail Down the Supply Chain
Honestly, choosing products and building the website aren’t the hardest parts. The real headache is the supply chain. Especially with dropshipping—no inventory, no packing yourself—if something goes wrong with sourcing or shipping, customers will blow up. Pick the wrong supplier, and at best you get bad reviews and refunds; at worst, your whole store could get banned. So I spent the most time polishing the details here.
We started with the AliExpress dropshipping model. The upside: low entry barrier, tons of SKUs, and no need to stock goods ourselves. But to make sure the whole chain stays stable, I added quite a few “safety nets” to the process.
● Only pick sellers with high ratings and stable shipping: Sellers on AliExpress vary a lot. I used the DSers plugin’s backend filtering logic to only pick sellers with lots of shipping records and ratings above 4.8. I also read the reviews carefully for any red flags like “slow shipping,” “bad packaging,” or “wrong items sent.”
● Proactively add sellers on WeChat to privately negotiate pricing and shipping details: Many newbies skip this, but I highly recommend it. I added a few core sellers on WeChat and explained we’re long-term partners doing volume dropshipping, hoping to get extra cooperation on packing, shipping speed, cost, and labeling.
● Use the DSers plugin to auto-sync orders: Once a customer places an order on our site, the system automatically syncs the order to the AliExpress seller—including shipping addresses—making the fulfillment process “almost fully automated.”
● Prioritize shipping from US/EU warehouses to improve delivery speed: To solve the “slow shipping” pain point, I prioritized products with warehouses in the US or Europe when selecting SKUs. The cost might be a bit higher, but for customers, receiving a package in 7 days versus waiting 21 days is a world of difference.
Step 4: Marketing & Traffic

Having the website means nothing without promotion—it’s basically useless. So I put together a simple marketing combo:
| Platform | What We Did |
|---|---|
| Created an account, posted photos and short videos daily | |
| TikTok | Copied trending video styles and adapted them with our products |
| Created a group, invited relatives and friends to join and help bump posts | |
| Google Ads | Ran low-budget test ads, spending about $5 per day |